Configure Multiple Carrier Accounts (FedEx, DHL, UPS)
The Opero Ship Multiple Carrier Account feature allows you to easily configure multiple accounts with supported carriers including DHL, FedEx, and UPS. The carrier account feature can be applied to a variety of use cases, such as a business with several warehouse locations, each with their own carrier account. Or, a company that has a carrier account for each user in their Salesforce org.
Configure a Carrier Account
In order to use this feature, you’ll need to first configure a new carrier account by following the steps below:
- Open the Opero Ship App and click the Carrier Account tab or open the Carrier Account tab from the app manager.
- Click the “New” button.
- Select a carrier from the list.
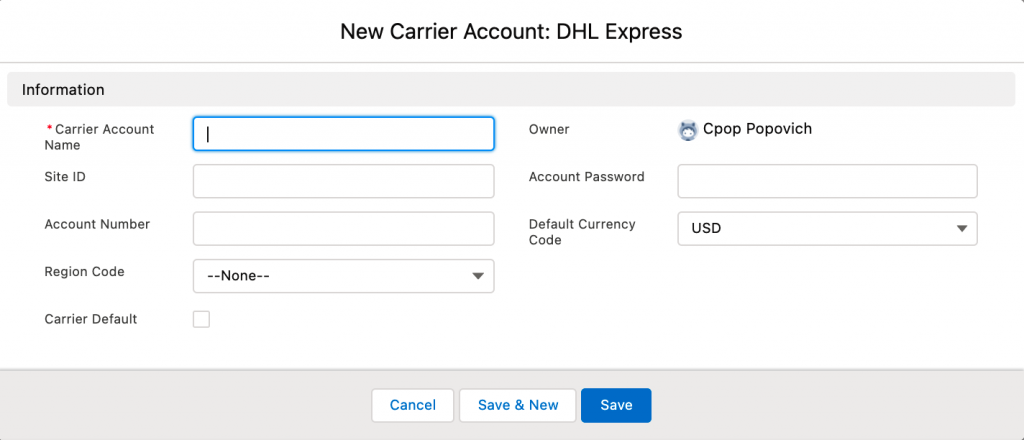
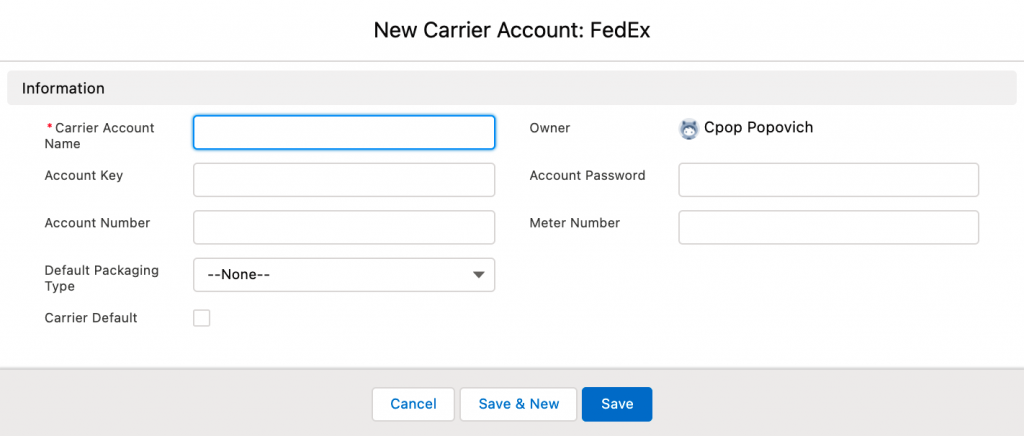
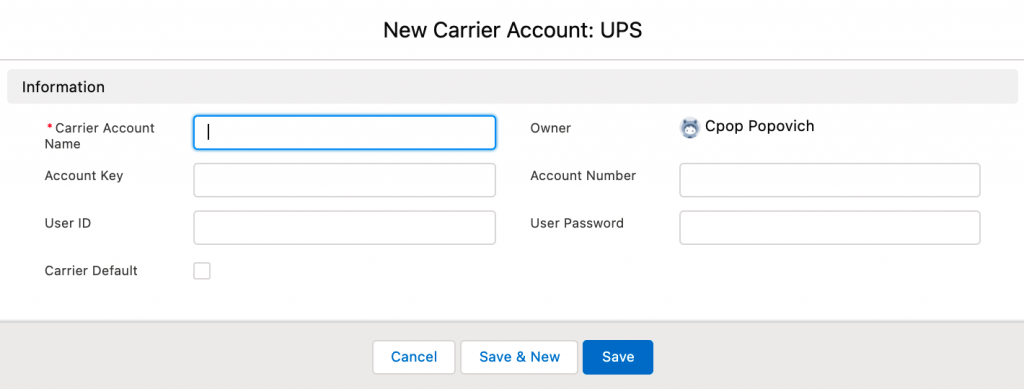
- Complete the standard and carrier-specific fields on the page. In addition to the standard fields, each carrier will list specific fields relevant to that carrier.
Standard Fields
- Carrier Account Name – Input a reference name for this account that will help you identify this account. This is just for your own reference to identify this account.
- Carrier Default – This is an optional checkbox field that indicates a carrier account is the default for the account.
Carrier Specific Fields
DHL
FedEx
UPS
Select the Carrier Account
You can select a Carrier Account when creating a new shipment on the New Shipment page or in custom button code.
New Shipment Page
On the New Shipment page, you can manually select the carrier account for any active carriers with the carrier account feature. The screen shot below shows the use case of a business with two active carrier accounts, UPS and Stamps.com (USPS), and two UPS carrier accounts, one for a warehouse in Texas and one in California. The Carrier Account picklist field is visible under the UPS specific details section because UPS supports multiple accounts while Stamps.com does not.

Custom Button Code
If specifying a Carrier Account in your Create Shipment Button, you’ll include a url parameter that passes a Carrier Account value. We’ve created three url parameters for the multi carrier account feature (see table below).
| Carrier | URL Parameter |
| FedEx | fedex_acct |
| DHL Express | dhlexpress_acct |
| UPS | ups_acct |
The Carrier Account value will be the Salesforce Id of the Carrier Account record that should be used.
You can specify a criteria on the record to identify which carrier account to use and pass that information to the new shipment page using a custom button.
For a business with several warehouse locations, each with their own carrier account, the custom button would send a carrier account value based on the value of a field on the account, such as Region, Department, or State.
Or, if a company has a carrier account for each user in their Salesforce org, they could create a lookup field on the User object for Default Carrier Account to the Carrier Account object and merge the $current user.default carrier account value in the button code to have accounts assigned to users.